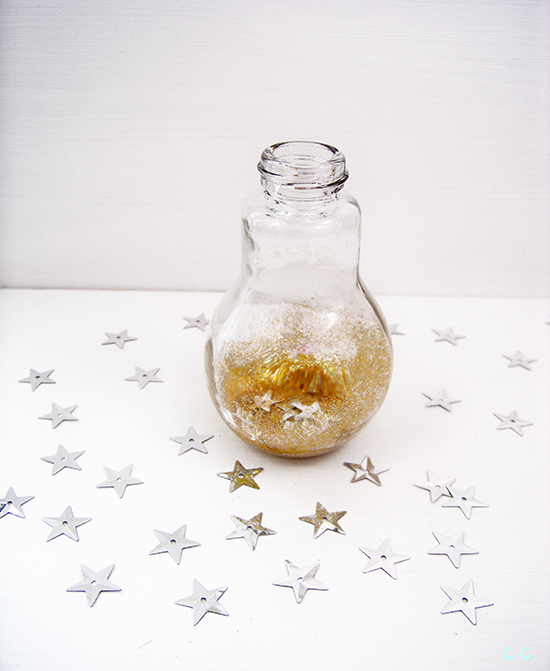
Today's project is part glitter globe, part inspiration, part decoration. Find out how to make this sparkly DIY down below!
Supplies:
- Light Bulb Container (I found mine at Hobby Lobby)
- Filling
- Assorted Glitters
- Sequins
- Confetti
- E6000 Glue
- Wire (Mine is 24 gauge)
- Jewelry Pliers
- 3/4 in. Flat Plastic Button
Not Pictured: - Water
- Dish Soap (Clear or light-colored)
When I saw this amazing "Jar" for only $1.99 at Hobby Lobby I immediately snatched it up. I've always admired light bulb craft projects but the whole taking it apart part made me a little nervous. It would be just my luck to seriously injure myself.
This thing was perfect for finally getting to play with one of my favorite shapes! Its made of a nice thick glass, and the lid metal part is a screw on lid!
It even has a flat bottom so its more stable then using a hex nut to stand, like with some light bulb vases I've seen.
Step 1: Use a drop of E6000 to block that hole at the top of the lid. We need this thing to be waterproof!
Set it aside and let it dry. Please use this glue safely and in a well ventilated area, or outside.
Step 2: Gather all of your materials that are going to fill the globe. I just picked things that make me feel inspired and happy.
Add all your glitter!
Swirl the bulb around to mix your glitters together. I love the mystical gold they made. (Later I added a little more silver though, to even it out)
Add a few sequins or bits of confetti.
Step 3: Make a word, a short word, that inspires you or you like to meditate or think on. I chose "create." I'm not too good at writing with wire yet, but I read this tutorial from Swellmayde, and I made this gif to show my process!
Step 4: Insert your word into the globe, sideways, doing your best not to bend the wire out of shape. I had to try this a few times to not cause any damage, just be gentle with it and go slowly.
Insert the ends of your wire into the holes of your small plastic button. Twist them together below and above the button to secure. Be careful not to twist your word around or make it do anything funky. Trim the wire ends down or fold them over, which I forgot to do. Whoops!
Once that time is up, add some glue around the edge of the button where it meets the rim.I used a stick to spread mine around. I was already outside and too lazy to go in and grab something else.
Let that glue seal dry for about 15-20 minutes before you add glue to the lid and screw it on securely.
 |
| I also globbed some glue over the button holes, I really don't want this thing to leak! |
And oh boy is it fun to shake!
Whats your favorite shape? (Doesn't need to be as simple as square, circle, triangle, etc.) Mine is of course, the light bulb,
Til Next Time!


This is super cute, RaChil! I think your wire writing looks great!
ReplyDeleteThanks Alexis, I'm glad you think it looks great, I was worried it might be a little difficult to read, and thanks for the pin!
DeleteI love this!! I saw these jars at the craft store and was trying to think of something to do with them. Great idea! Pinned. :)
ReplyDelete:D Thanks Bree. I knew I had to come up with something the second I saw them, I hope you found the project enlightening!
DeleteStop it, this is flippin' adorable! Silkworm and I made a glitter jar a while ago, but THIS is a hundred times better than water and sparkles in a mason jar! I love the symbolism. ^-^
ReplyDelete